Last updated November 21, 2026
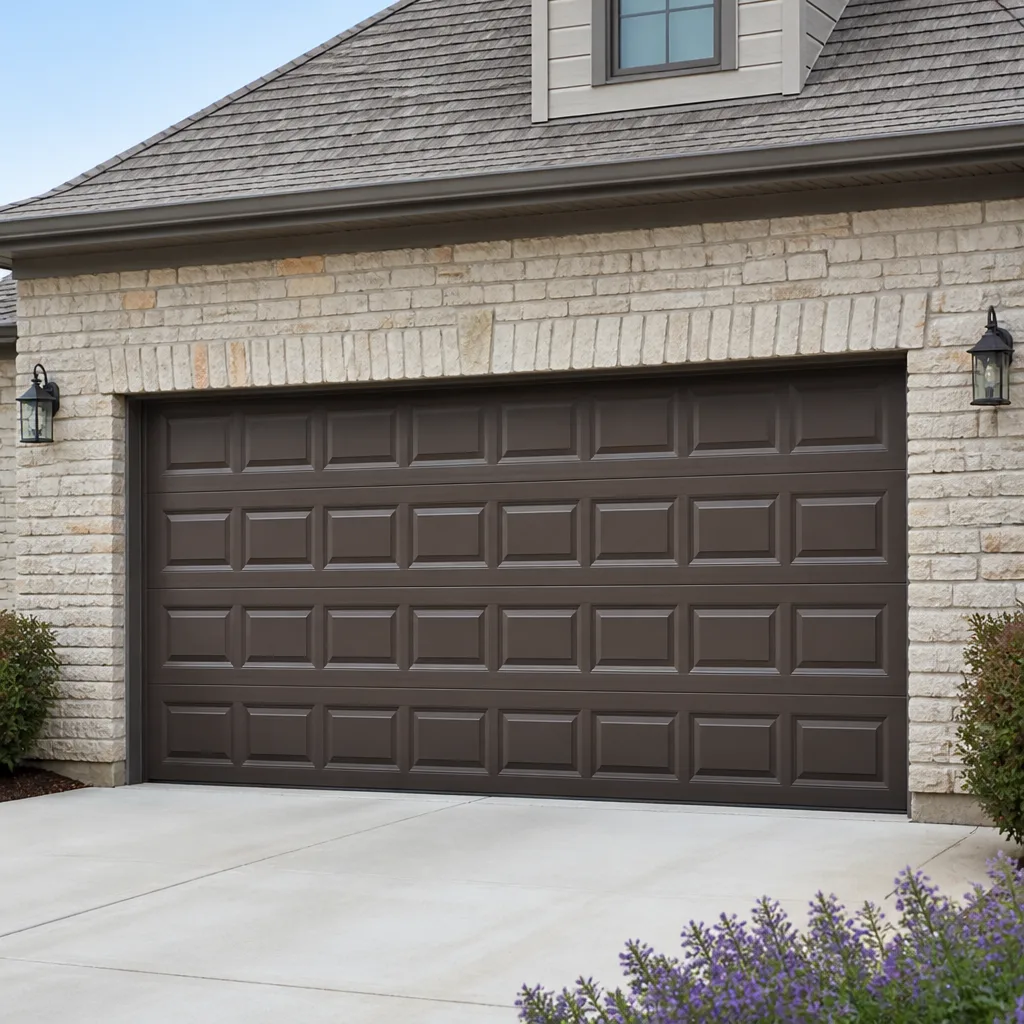 Raised-panel steel
 Carriage house
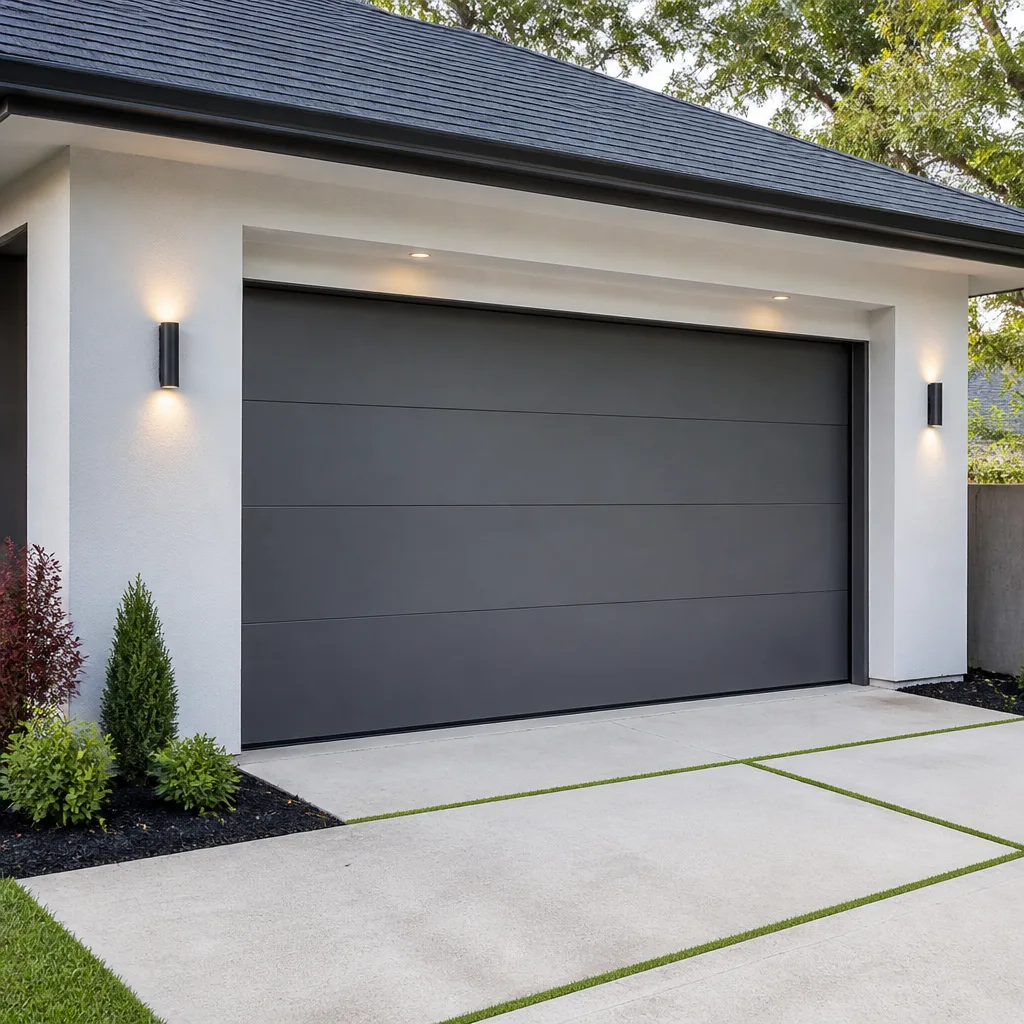 Modern flush
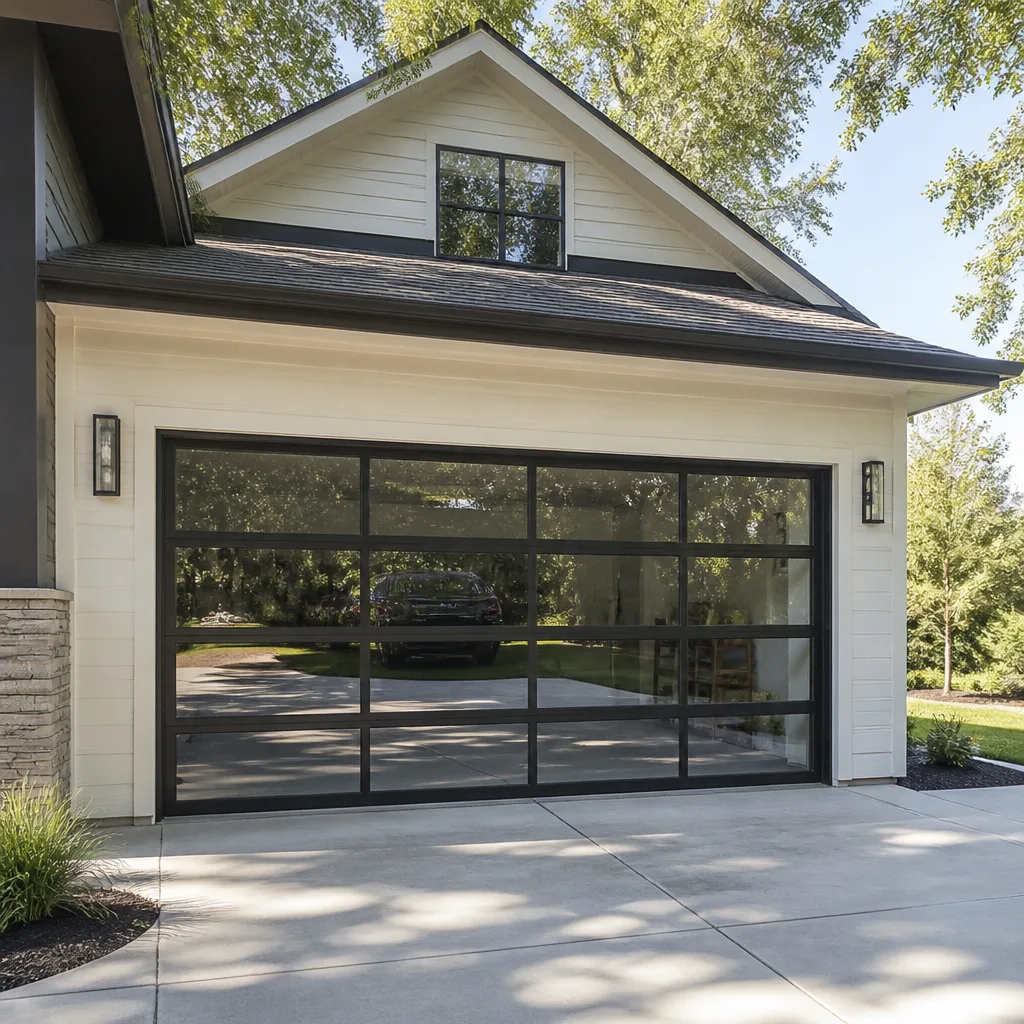 Full-view glass
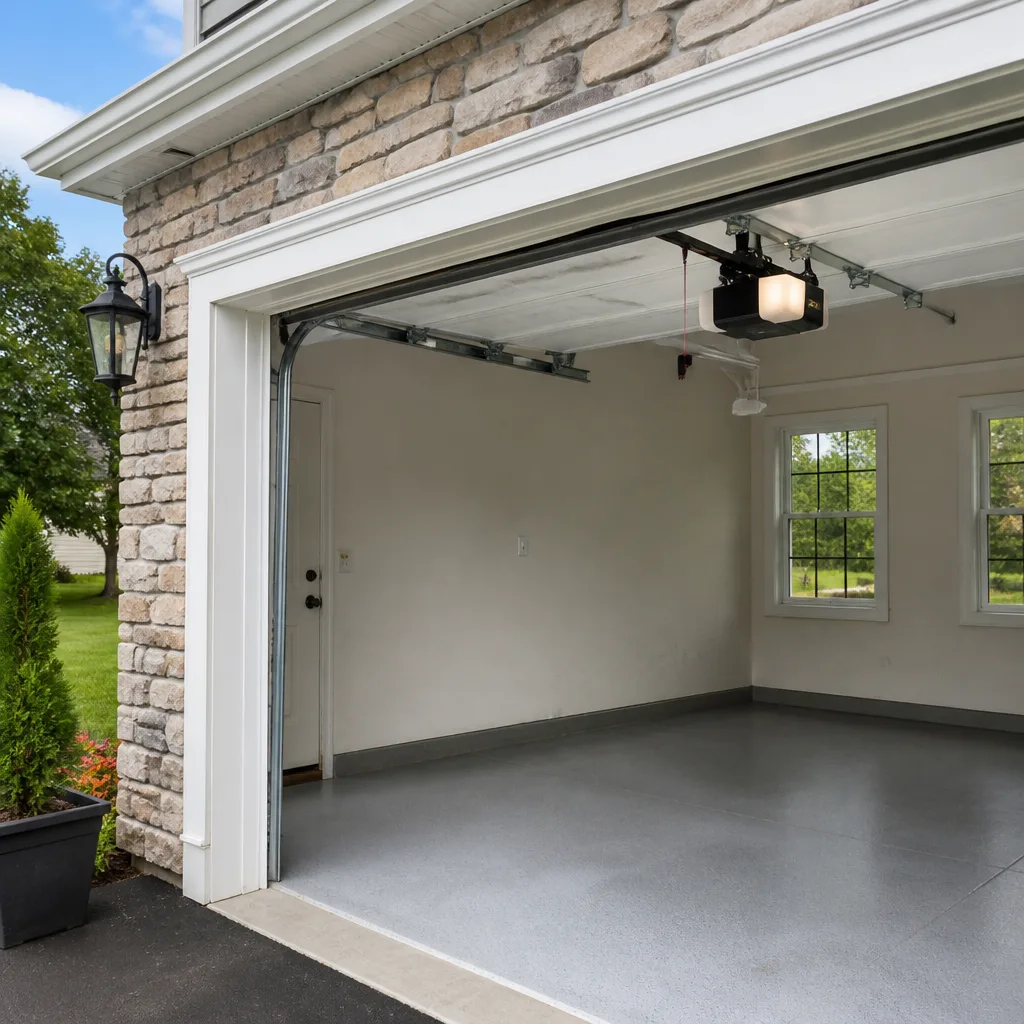 LiftMaster openers
 Chamberlain openers
Full 25-point door and opener safety check with every visit - springs, cables, rollers, tracks, and your LiftMaster or Chamberlain opener included
You get a price before we start. It does not change when the pro arrives.
Get your free estimateGarage Door Repair Maintenance Checklist for West Roxbury Homeowners
The number-one maintenance task most West Roxbury homeowners skip isn’t lubrication. It’s checking the bottom seal compression after every hard freeze – and that’s exactly where cold-weather door failures start. A door that ran clean all fall will start scraping, binding, and reversing within a week of the first deep cold snap, and the culprit is almost never the part people blame. In this guide, we’ll walk through the checks that actually matter in West Roxbury’s climate, organized by what you can safely handle yourself and what needs a technician. You’ll learn the freeze-specific inspections, how to spot a torsion spring that’s about to fail, which lubricants help and which quietly destroy your door, and the West Roxbury calendar for running each check.
Quick Answer
A garage door maintenance checklist for West Roxbury should focus on cold-weather failure points: bottom seal compression after freezes, track alignment after frost heave, opener force settings that drift in low temperatures, and early torsion spring fatigue. Homeowners can safely handle visual inspections, lubrication with the right products, and balance and safety-reverse tests. Spring, cable, and opener-internal work belongs with a trained garage door specialist.
Styles & brands we work with
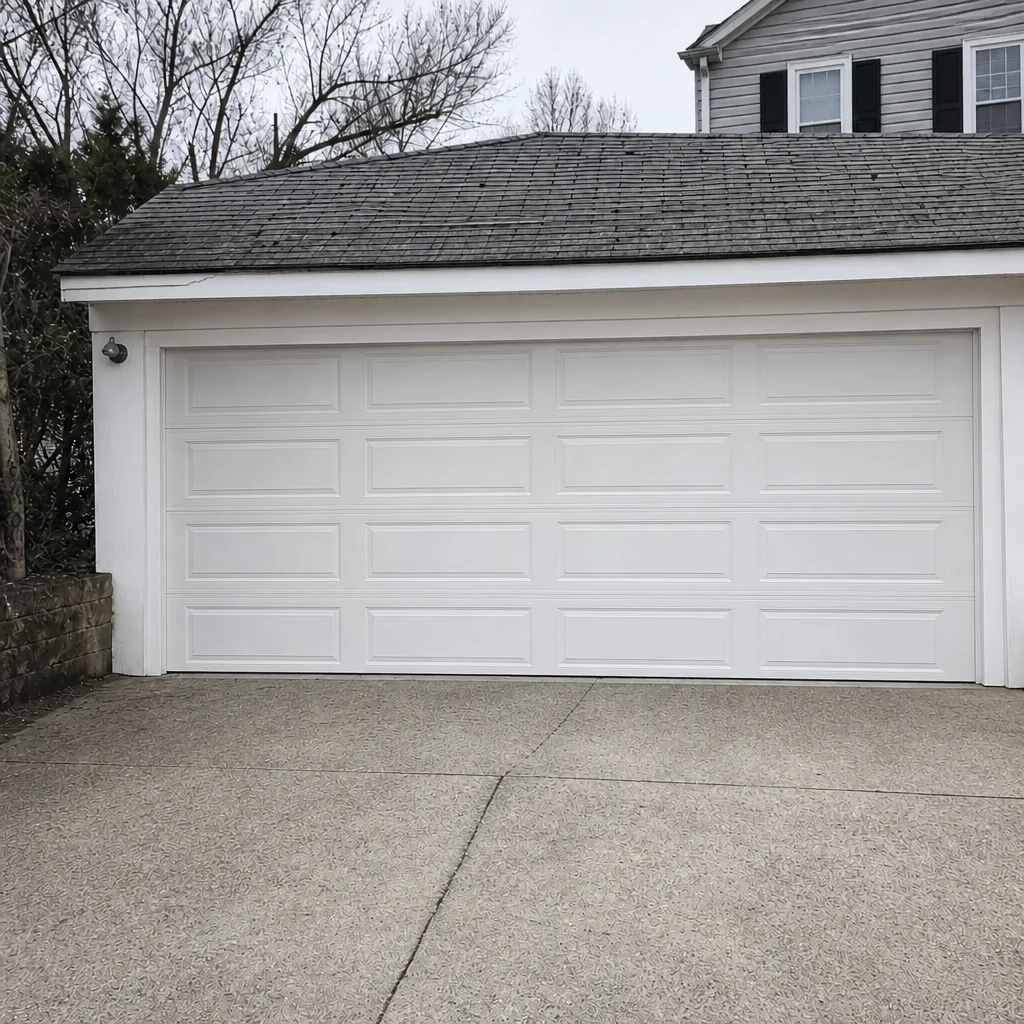
- Raised-panel steel
- Carriage house
- Modern flush
- Full-view glass
- LiftMaster openers
- Chamberlain openers
Table of Contents
- Why Generic Checklists Miss What Breaks in West Roxbury
- The Freeze-Specific Checks Every West Roxbury Door Needs
- How to Spot Early Torsion Spring Fatigue Before It Snaps
- The Right Lubrication Guide (and the Products That Ruin Doors)
- The West Roxbury Seasonal Maintenance Calendar
- The Balance and Safety-Reverse Tests You Can Run Yourself
- Hardware, Rollers, and Hinges: What to Inspect Monthly
- Opener Diagnostics: What a Healthy System Looks and Sounds Like
Why Generic Checklists Miss What Breaks in West Roxbury
Most maintenance checklists floating around online are written for a climate that gets mild winters and gentle temperature swings. They tell you to oil the chain and look at the springs once a year. That advice isn’t wrong, but it’s not calibrated to what we actually see on service calls across West Roxbury, where the door faces repeated freeze-thaw cycles from late November into March and where frost heave shifts the ground under the tracks in a way warmer climates never deal with.
The result is that homeowners tend to inspect the wrong parts and skip the ones that matter. A torsion spring doesn’t usually fail on a quiet Tuesday in spring. It fails after a week of single-digit lows that has been quietly loading and unloading the metal every time the door runs. Likewise, a bottom seal that looked fine in October will start pulling loose in January because ice has been wedging under the rubber and freezing it to a concrete slab.
This checklist is built around those failure patterns, not around the tidy list that looks good on a printable PDF. In our experience, the three checks that catch the most West Roxbury problems before they become repair bills are:
- Bottom seal compression – evaluated after every hard freeze and again after each thaw.
- Track alignment – checked for frost-heave movement along the floor and at the jamb brackets.
- Opener force and limit settings – watched for drift that quietly increases as the weather cools.
We’ll get into each one. Read this guide once and you’ll have a workable routine you can repeat every month without ever touching a spring or carrying a ladder onto the tracks.
The Freeze-Specific Checks Every West Roxbury Door Needs
Freeze-related failures cause more winter service calls in West Roxbury than broken springs and openers combined, and nearly all of them start with three small inspection points. None of them require tools. All of them catch a problem while it’s still cheap to fix.
1. Bottom Seal Compression
The bottom seal (also called the astragal) is the rubber strip that runs along the bottom of the door panel. Its job is to sit flush against the floor and block drafts, water, and pests. When compression is good, the seal should look like it’s slightly squished – not flat, not lifting at any point. Pull the door down manually (with the door disengaged from the opener) and check:
- Flat spots on the seal where the rubber has compressed and stayed compressed. This usually happens faster in West Roxbury because the cold makes the rubber stiffer and it loses rebound.
- Gaps at the floor where daylight or a draft can slip through, especially at the corners where the slab is uneven.
- Ice adhesion – if the seal sticks to the concrete after a melt or refreeze, that’s a sign the bottom of the door is holding water. It needs attention before the ice tears the seal off.
If the seal shows any of these, it should be replaced. It’s one of the few checks you can do yourself and one of the most consequential, because a failing seal is the entry point for the moisture and cold that stresses everything else.
2. Track Alignment After Frost Heave
West Roxbury sits on ground that moves with the frost. Concrete slabs, walkway edges, and even the ground under a garage floor can lift slightly as water in the soil expands and freezes, and settle again in the thaw. That movement can push the vertical tracks out of plumb, which puts the door in a bind and forces the opener to work harder.
To check alignment, watch the door as it runs and look for rocking, uneven gaps between the rollers and the tracks, or a sound of metal scraping that wasn’t there in the fall. Run a level along the outside face of each vertical track if you have one, and check that the gap between door and jamb is even top to bottom. A track that’s been knocked out of line needs to be adjusted by a technician; a homeowner trying to straighten it by hand usually makes it worse.
3. Opener Force and Limit Settings
Opener force settings are the amount of resistance the opener is programmed to push through before it reverses. They’re set to a factory tolerance that assumes near-perfect conditions, and cold weather changes the resistance the door provides. A door that ran smoothly in October has more friction in January. If the force settings drift too far one way, the safety reverse system either stops the door for no reason or fails to reverse when it should. Both are problems.
We check force and limit settings during every repair visit because they’re the most common cause of “the door keeps going back up” calls in January and February. If yours are drifting, the fix is usually a small adjustment, but it needs to be measured against a properly balanced door. That leads to the next check.
How to Spot Early Torsion Spring Fatigue Before It Snaps
A torsion spring that’s about to fail usually gives you two to four weeks of subtle warning, and few checklists tell you what to look for. The warning signs are physical, and every West Roxbury homeowner can learn them in two minutes.
Sign 1: A Visible Gap in the Spring Coils
A healthy torsion spring should have coils that sit tight together. Look up at the spring mounted on the shaft above the door. If you see a gap – even a small one – between two coils that were previously touching, the spring has lost tension and is closer to failure than it looks. A gap is the clearest early warning a torsion spring gives.
Sign 2: Uneven Lift and Door Drift
Run the door halfway up with the opener, then release it from the track carriage (pull the red emergency release handle). A healthy, balanced door will stay where you put it. A door that drifts slowly downward has lost spring tension on one side. A door that seems to lift harder on one side than the other has the same problem.
This is also a simple diagnostic for cable stretch, roller wear, and track binding, which is why it’s the second check in our sequence.
Sign 3: A Door That Needs a Nudge to Close
If the door hesitates, grinds, or needs a second press of the button to fully close, the spring has lost enough tension that the opener is pushing past resistance it shouldn’t be feeling. Don’t keep pressing through it. Once the door starts needing a nudge, the spring is very close to the end of its life.
Safety note: A torsion spring under load stores enough energy to cause serious injury or worse if it releases while someone is working near it. We never advise homeowners to touch, wind, unwind, or replace a spring, and we don’t want a list of warning signs to be mistaken for a DIY green light. If you spot any of the three signs above, call a trained garage door specialist. Spring repair is a standard, practiced job for us – garage door repair that starts with the spring is one of our most frequent calls in West Roxbury. If the sign you’ve spotted is a snapped spring, or a door that won’t lift at all, see our guide for same-day spring and door repair.
The Right Lubrication Guide (and the Products That Ruin Doors)
Lubrication is the one maintenance task where the wrong product does real damage. WD-40 – the standard spray can under most kitchen sinks – is the most common culprit. It’s a light solvent-based penetrant, not a long-term lubricant, and on garage door components it attracts dust, thins away existing grease, and leaves hinges and rollers running dry within weeks. On nylon rollers, it accelerates wear.
What to Use on Which Part
- Steel rollers, hinges, and hinge pins: White lithium grease or a silicone-based garage door lubricant. Apply a thin film only.
- Torsion spring: A light coat of garage door lubricant on the coils, not on the winding cones or cable drum. This is a light-reduction task, not a winding task.
- Track: Nothing. The tracks should stay clean and dry. Grease on the tracks collects grit that then grinds into the rollers.
- Nylon rollers: Nothing. They’re self-lubricating, and adding product actually degrades them.
- Chain drive opener: The manufacturer’s specified chain lubricant only. Never oil a chain that’s been plated with dry lubricant from the factory.
- Belt drive opener: Nothing on the belt itself. Check tension but don’t add product.
How Often to Lubricate
Twice a year is the right cadence for most West Roxbury doors, timed to the two seasonal swings: once in late fall before the first freeze, and once in early spring after the thaw. The fall lubrication matters most because it reduces friction heading into the months when everything on the door stiffens up. If your door runs under 50 cycles a month (a rough count of how often you open it), twice a year is plenty. If you use it heavily, move to three times a year.
Brands don’t change this advice, but the specific hardware does. The rollers and hinges on a Clopay door and a Wayne Dalton door require the same basic lubrication, though the exact spring and hardware configuration can vary. We work on both, plus Chamberlain and Genie opener systems, so we can advise on the correct product for what’s installed on your door.
The West Roxbury Seasonal Maintenance Calendar
Think of your garage door as having two big maintenance windows and two smaller check-ins. The timing is tied to West Roxbury weather, not to arbitrary fiscal quarters.
Late October to Mid-November: The Pre-Winter Full Check
This is the most important inspection of the year. Run every check that follows before the first hard freeze:
- Full visual inspection of springs, cables, hinges, and rollers.
- Balance test (release the door and see if it stays put).
- Safety-reverse test (both the photo-eye and the mechanical reverse).
- Lubrication of steel rollers, hinges, and spring coils.
- Bottom seal check – replace or repair anything questionable now, before ice gets under it.
- Opener force and limit settings check, in case they drifted over the summer.
- Weatherstripping around the door frame checked for gaps.
December to February: The Monthly Cold-Weather Look
No tools required. Each month, do three things: (a) look at the spring coils for a gap, (b) watch the door run and listen for new scraping or rocking, and (c) check whether the bottom seal still compresses against the floor after each hard freeze and thaw cycle. If any of these change, don’t wait for spring.
March to April: The Post-Thaw Inspection
This is when frost heave, ice damage, and winter stress show themselves. Check:
- Track alignment – the biggest reason post-winter service calls spike in West Roxbury is a track that shifted a fraction of an inch over the frost season.
- Bottom seal condition – winter tears and cracks show now.
- Hardware tightness – brackets and hinges can loosen as the seasonal expansion and contraction work on the mounting points.
- Spring gap re-check – if the spring survived winter but shows a gap now, it’s likely not going to last the summer.
May and September: The Light Check-Ins
One lubrication pass and one safety-reverse test each, plus a general listen. If the door sounds smooth, you’re done. If it doesn’t, that’s a good time to book an opener diagnostic before it’s a bigger job.
The Balance and Safety-Reverse Tests You Can Run Yourself
Two tests every homeowner should run at least once a year, and ideally twice: the balance test and the safety-reverse test. Both are simple, both take under five minutes, and both catch problems that can otherwise lead to a door coming off its tracks or failing to reverse on an obstruction.
The Balance Test
- Close the door completely, then open it halfway with the opener.
- Pull the red emergency release handle to disconnect the door from the opener carriage.
- Let the door go. It should stay exactly where you released it. A door that drifts down has a spring that’s lost tension; a door that drifts up has one that’s over-tensioned or a cable that’s pulled tight.
- Re-engage the carriage by lifting the door back to the carriage and pressing the opener.
The Safety-Reverse Test (Photo-Eye and Mechanical)
Two separate tests, one on the optical sensor and one on the physical reverse mechanism.
Photo-eye test: With the door fully open, press the opener button so the door is descending. Wave a long object (a broom handle works well) through the path of the safety beam about six inches off the floor. The door should reverse immediately. If it keeps going, the sensors are misaligned, dirty, or failing, and that needs attention now.
Mechanical reverse test: Place a piece of wood or a brick flat on the ground in the door’s path. Press the opener to close the door. The door should contact the obstruction and reverse within about an inch of travel. If it pushes through or stalls, the force setting is too high and needs adjusting. Don’t keep the obstruction in place for more than the one test.
These tests are the best early warning system for opener problems and the one thing worth repeating every season. If you’d rather have a specialist verify the settings, a garage door opener repair visit can be scheduled just for diagnostics without any repair work.
Hardware, Rollers, and Hinges: What to Inspect Monthly
Hardware wears out slowly, and the wear accelerates in West Roxbury’s freeze-thaw cycle. The good news is that every check below is visual or hands-on, and none require tools.
Rollers
A healthy steel roller has an intact bearing and spins freely with no wobble. Nylon rollers should be smooth and crack-free. Replace any roller that’s flat-spotted, seized, or making a grinding noise. A single bad roller puts extra force on every other part of the door, so catching one early prevents a cascade. Most doors should have their rollers replaced every few years, depending on how many cycles they run.
Hinges
Check every hinge for looseness, wear at the pin, and signs of rust. A wobbly hinge shifts the load to its neighbors and eventually to the panels. Tighten any loose screws now. If the hinge is wearing through the mounting metal, replace it.
Cables
Look at the cables on each side of the door. They should be equally tensioned, with no fraying or kinked strands. A cable with even one broken strand needs replacement – a fraying cable is a snap waiting to happen. Cable work is not a homeowner job; if a cable looks worn, treat it the way you’d treat a fatigued spring.
Panels and Weatherstripping
Check each section of the door for dents, warping, and gaps. Warped sections cause binding and let in drafts. The weatherstripping around the outer frame (not the bottom seal) should also be inspected for cracks and hardening. Replace it if it’s gone stiff and no longer seals.
Bolts and Fasteners
Run a hand along the door and feel for any bracket or plate that’s loose. On a West Roxbury door, the mounting bolts on the jamb brackets and the hinges take the brunt of the seasonal expansion and can back off slightly each year. The fix is tightening. If bolts are consistently loosening and won’t hold, the mounting holes need attention.
Opener Diagnostics: What a Healthy System Looks and Sounds Like
Your opener is the most sensitive component to seasonal change, and most of the “the opener is broken” calls we get in West Roxbury turn out to be a setting or a wear item, not a failed unit. Repair first, replace only when necessary is how we approach it – a small repair is almost always the better call.
Sounds a Healthy Opener Makes
- Chain drive: A low, even mechanical hum, with no clicking or grinding. Clicking usually means a chain that needs tension or a sprocket with a worn tooth.
- Belt drive: Nearly silent, with just a soft motor hum.
- Screw drive: A steady mechanical whir, no squeal.
Any new grinding, screeching, clicking, or banging is worth investigating before it turns into a motor replacement.
Signs the Opener’s Force Settings Have Drifted
- The door reverses for no reason on its way down, or needs a second press to close.
- The door stops partway through its travel and needs the button pressed again.
- The wall control’s travel limits start slipping (door doesn’t reach the same open or closed position).
- You feel the opener “fighting” the door – the door rumbles or shudders as it moves.
Any of these can be a force setting, a limit setting, or confirmation that the door itself is out of balance. All four need a proper diagnostic, and all four are fixable. If your opener is a LiftMaster, Chamberlain, Genie, or Craftsman unit, we know the specific programming routine and can usually confirm the cause on the first visit. If you’re not sure what’s installed, a Raynor or Wayne Dalton dealer sticker on the opener or the door itself is a good starting clue.
Signs the Opener’s Photo-Eyes Are the Problem
If the door goes down two inches and reverses, the photo-eye system is at fault more often than the motor. Check that the two sensor units are facing each other, clean, and aligned, with the small indicator light on steady (not blinking). Dirt, spider webs, and sun glare are common causes. If alignment is good and the door still reverses, the sensors themselves or the wiring may need replacing.
Common Mistakes to Avoid
- Lubricating with WD-40. It’s a penetrant, not a lubricant, and on a garage door it dries out hinges and attracts grit into tracks. Use white lithium grease or a silicone garage door lubricant instead.
- Greasing the tracks. The tracks should stay clean and dry. Lubricant collects grit, and grit grinds the rollers.
- Trying to adjust or replace a torsion spring. This is one of the genuinely dangerous DIY jobs in home maintenance. A torsion spring stores enough energy to cause serious injury. It’s work for a trained technician with the right winding bars and tooling.
- Skipping the bottom seal check after a freeze. This is the single biggest cause of winter service calls in West Roxbury, and it’s the easiest check to miss because the seal “looked fine” in November.
- Ignoring a gap in the spring coils. A gap is early warning of fatigue. Waiting for the snap means a repair that could have been scheduled becomes an emergency.
- Bumping the force setting higher when the door struggles. Increased force masks the real problem (binding, imbalance, or a worn roller) and usually leads to a bigger repair. The right move is to diagnose why the door needs more force in the first place.
- Letting a minor cold-weather noise go. Scraping, popping, and rocking sounds in the first weeks of winter are usually track or balance issues. They rarely fix themselves in the thaw; they get worse.
See the difference
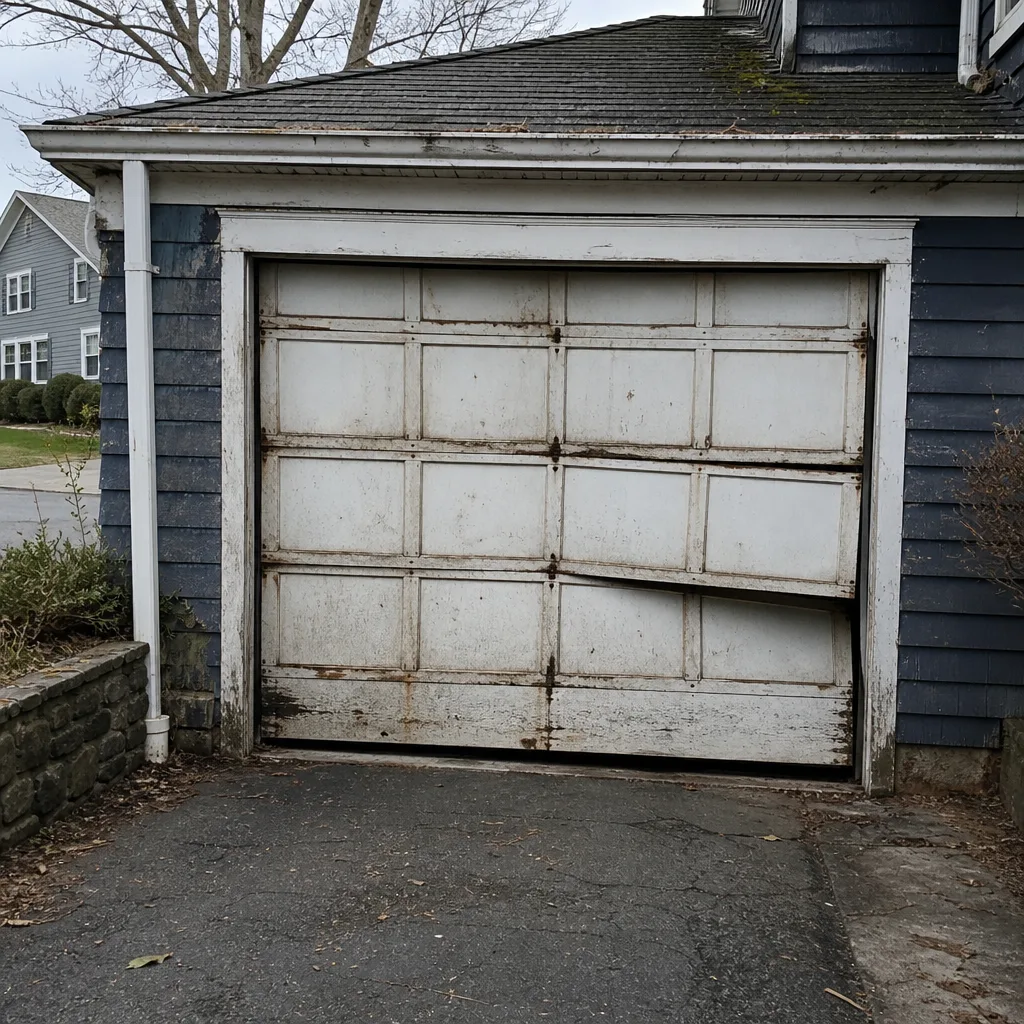 Before
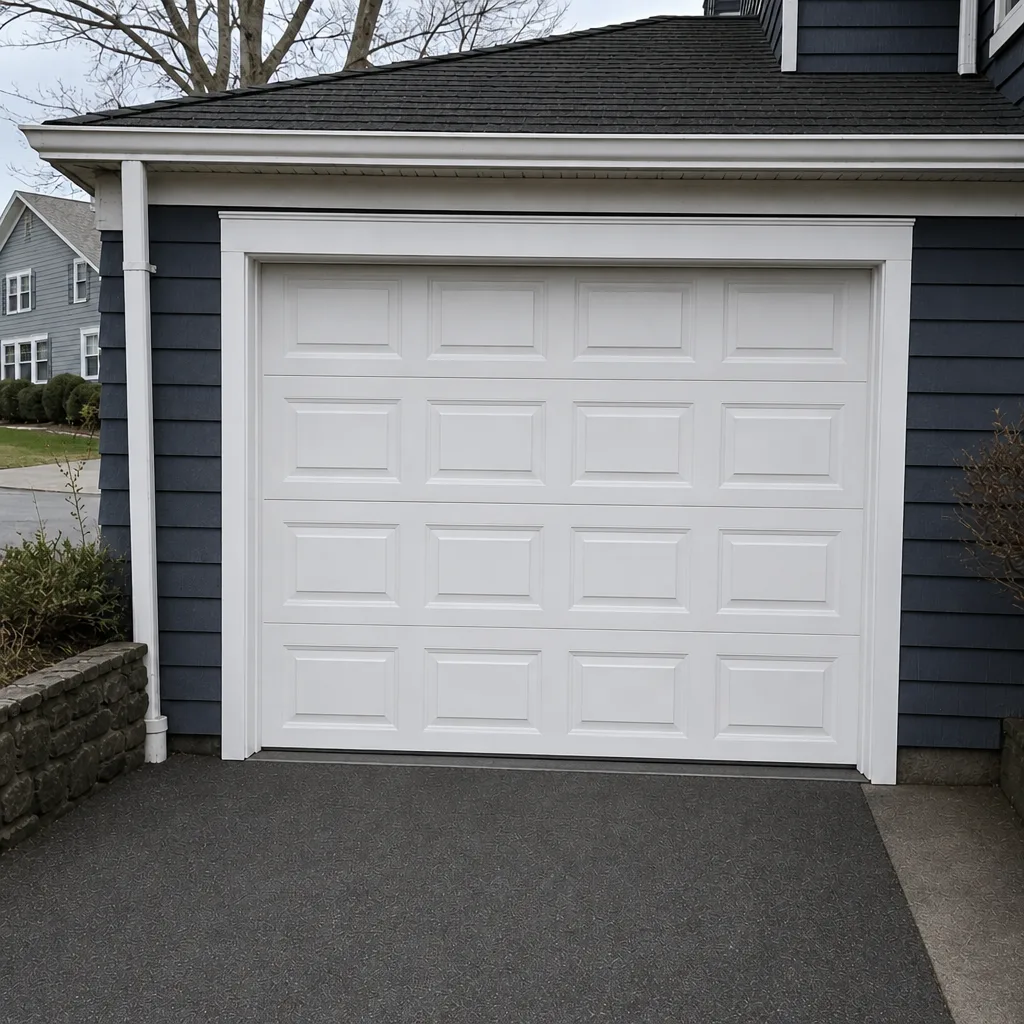 After
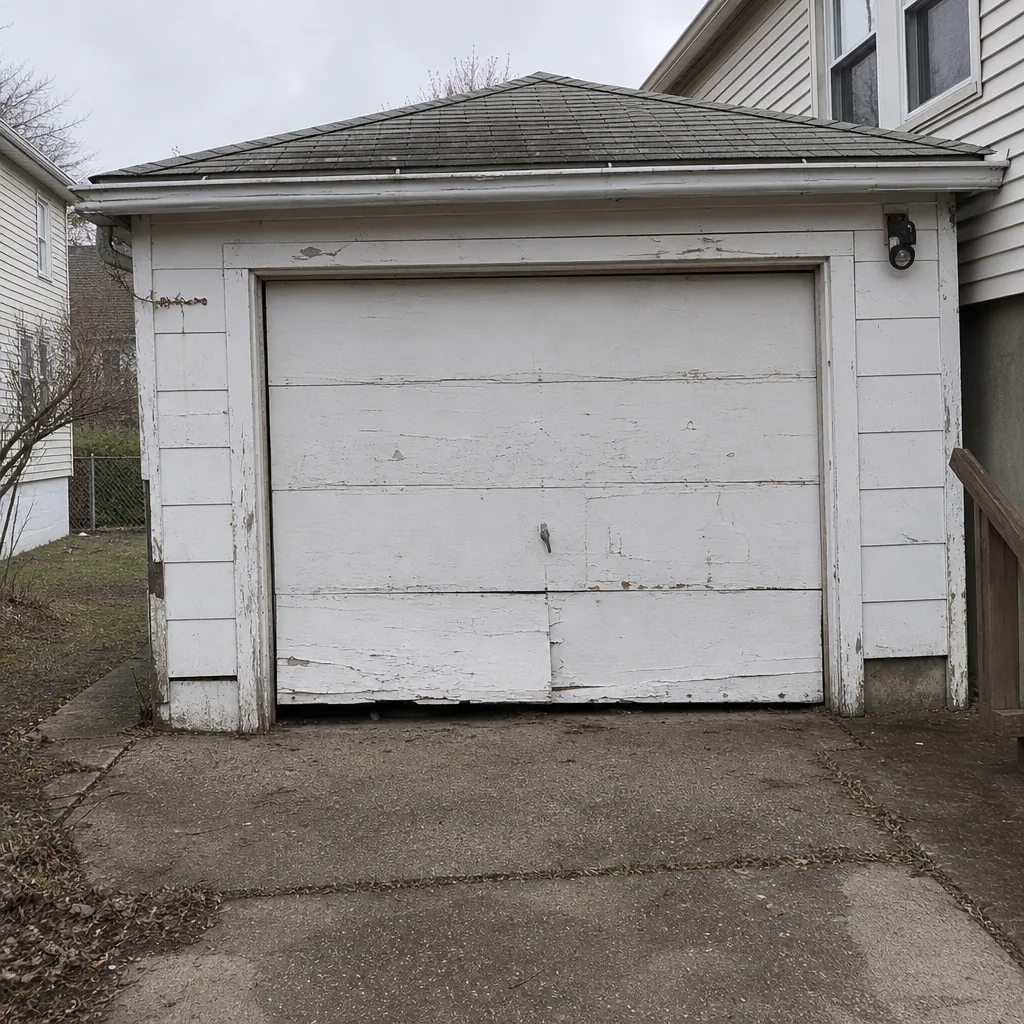
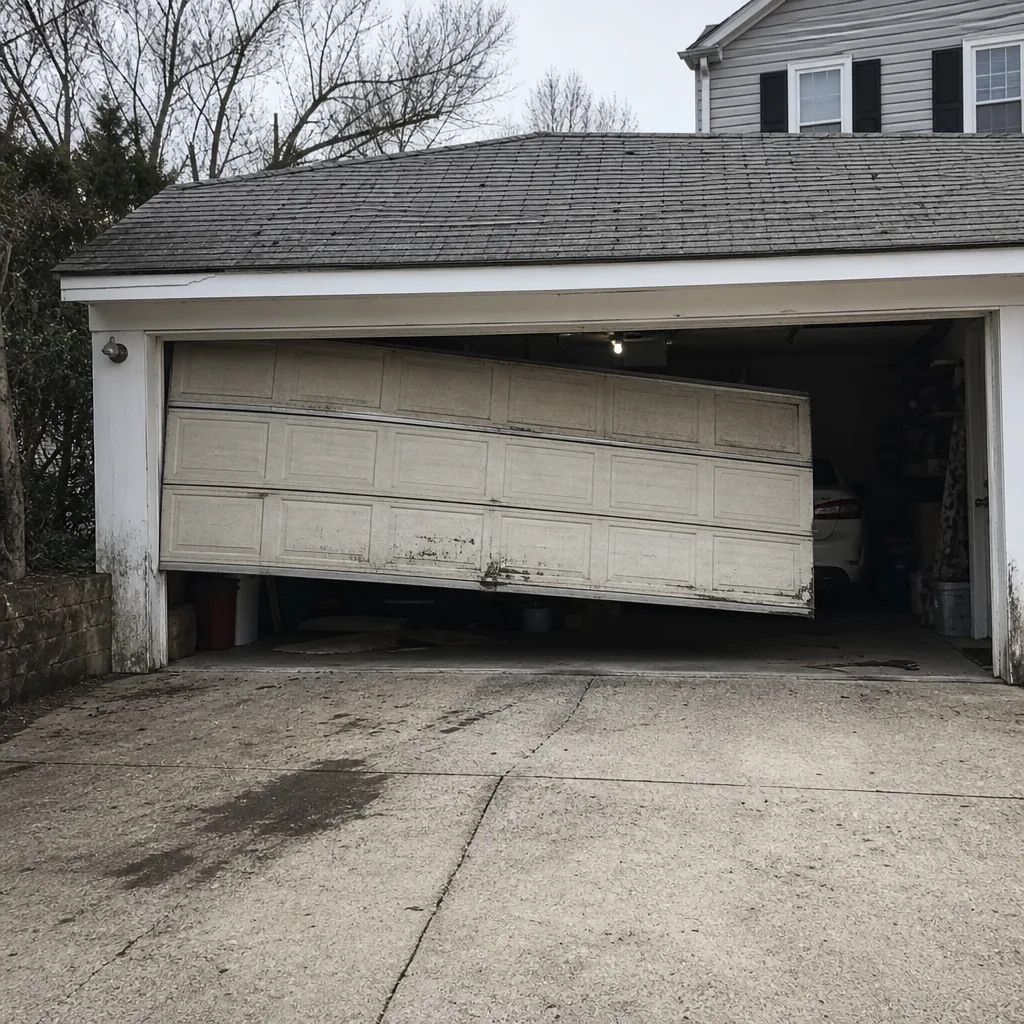 Before
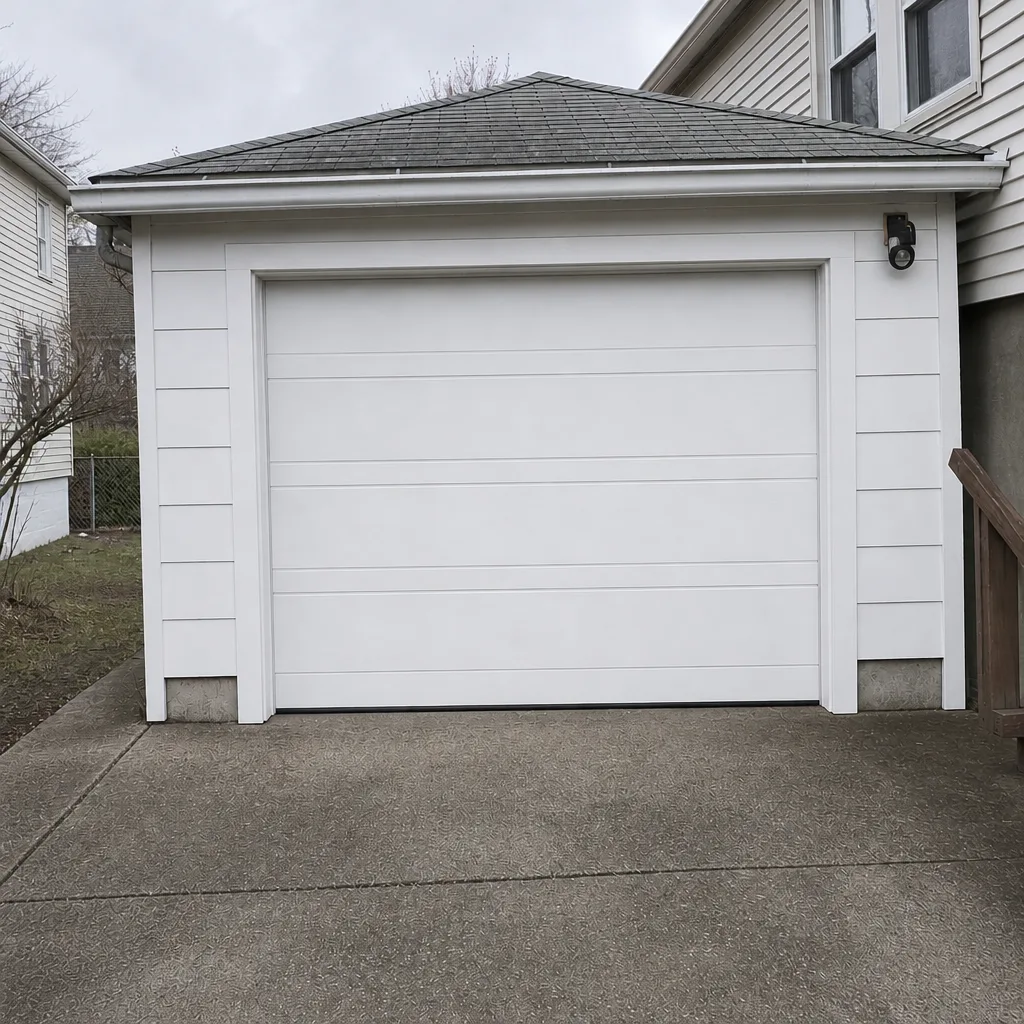
 After
 Before
 After
When to Call a Professional
Call a specialist when the check involves springs, cables, opener internals, or anything requiring going up onto a ladder near the door mechanism. That includes a snapped or sagging spring, a cable with any broken strand, a door that won’t lift, a door that reverses for no reason after a force-setting check, a track that’s visibly out of plumb, and any opener that grinds, clicks, or stops mid-travel. Some of these are urgent and others can wait for a scheduled visit, but none of them should be left alone through the winter. West Roxbury Garage Door Repair offers free estimates in West Roxbury – call (855) 658-4358 and we’ll take a look before a small repair becomes a bigger one.
Frequently Asked Questions
Twice a year for a full check (late fall and spring) plus a quick monthly look at the bottom seal, spring coils, and door sound during the winter. The two full checks catch most wear before it becomes a repair, and the monthly winter look catches freeze-related issues as they happen.
Yes – replacing a bottom seal is one of the few tasks a homeowner can safely do without special tools, and it’s worth doing before winter. What you cannot safely do yourself is adjust or replace a torsion spring or a cable, which need a trained technician with the right equipment. If your bottom seal failure is causing the door to bind, have that looked at by a specialist rather than just swapping the seal and hoping the binding goes away.
A visible gap between the coils, a door that drifts down when released halfway, and a door that needs a second press of the button to close are the three clearest early warning signs. Call a specialist if you see any of them – a fatigued spring can snap without any further warning, and a snapped spring means the door won’t lift safely until it’s replaced.
Cold temperatures stiffen the rubber, grease, and metal components, and frost heave can shift the tracks out of alignment. A door that runs quietly in October often develops a scraping or rocking sound in January because the tracks have moved by a fraction of an inch. If the noise is new and doesn’t go away after a thaw, call for a diagnostic before replacing parts on guesswork.
No. WD-40 is a solvent-based penetrant, not a long-term lubricant, and it damages nylon rollers and leaves steel parts running dry within weeks. Use white lithium grease or a silicone-based garage door lubricant on steel rollers, hinges, and the spring coils. Never put anything on the tracks or on nylon rollers.
We service eight of the most widely installed residential brands: LiftMaster, Chamberlain, Genie, Clopay, Amarr, Wayne Dalton, Craftsman, and Raynor. That means we work on the brand you already have – no brand-switching, no upgrade pressure. If you’re not sure what’s installed on your door, take a photo of the door and the opener before calling and we can usually identify it.
The Bottom Line
Garage door maintenance in West Roxbury is less about following a generic ten-point list and more about checking the failure points that this climate actually produces. The bottom seal after every hard freeze, track alignment after the thaw, opener force settings that drift with the temperature, and the three early warning signs of torsion spring fatigue are the checks that matter most. Handle seals, lubrication, and safety-reverse tests yourself. Leave springs, cables, and opener internals to a garage door specialist – those jobs carry real risk, and a proper repair done once is far cheaper than the damage a DIY attempt causes. The late-fall and spring inspections catch most issues before they become emergencies.
Every technician who visits is a garage door specialist, not a generalist splitting attention across trades. We supply garage door parts in addition to repair and installation work, which means fewer delays between diagnosis and getting the door running right. Our technicians have up to 11 years of experience. When a new door is the right answer, we can also handle garage door installation across the same eight brands, from Clopay to Amarr.
If something in this guide has flagged a check you’d rather have verified, or you’d like an honest read on the condition of the door before winter, call (855) 658-4358 for a free estimate. We’ll tell you what’s actually wrong – repair first, replace only when necessary. For information on our full range of services, visit West Roxbury Garage Door Repair.
Written by the team at West Roxbury Garage Door Repair.